This post is AI-generated.
I shoot 4x5" sheet film and "scan" it with a digital camera on a copy stand. A sheet is too big to capture in one frame at the resolution I want, so each one becomes four overlapping frames in a 2x2 grid, and from there it's a long way to a picture: stitch the four frames, level the result, invert the negative, remove dust, sharpen, and finally grade the color. Each step is simple on its own, but the files are huge (the stitched sheets are 100-130 megapixels at 16 bits per channel, 500-600 MB per TIFF) and every tool in the chain has its own ideas about color profiles, bit depth and metadata.
So over the last three weeks I've built my own: a suite of six small native macOS apps, one per step, plus a shared library that holds them together. Most of the code was written by Claude Code, more on that further down.
    Quartet → Straighten → Invert → Healing → Sharpen → Grade
    (stitch)   (level)     (neg→pos) (retouch) (sharpen) (color)
Each app does one thing, opens and saves the same kind of file as its neighbors, and (with one exception) never touches the color it didn't ask for. All of them are Swift, AppKit/SwiftUI and Metal, SwiftPM packages without an Xcode project.
The code is in the public domain, one repository per app plus the library: Quartet, Straighten, Invert, Healing, Sharpen, Grade and SuiteKit.
Quartet: Stitching Four Frames Into One Sheet
Quartet is not a general panorama tool. It knows nothing about lens models, projections or control points, it does exactly one thing: four overlapping frames of a flat sheet of film in a 2x2 grid. That constraint is what makes it fast (under two seconds for a sheet) and lets it refuse bad input instead of quietly producing a bad stitch.
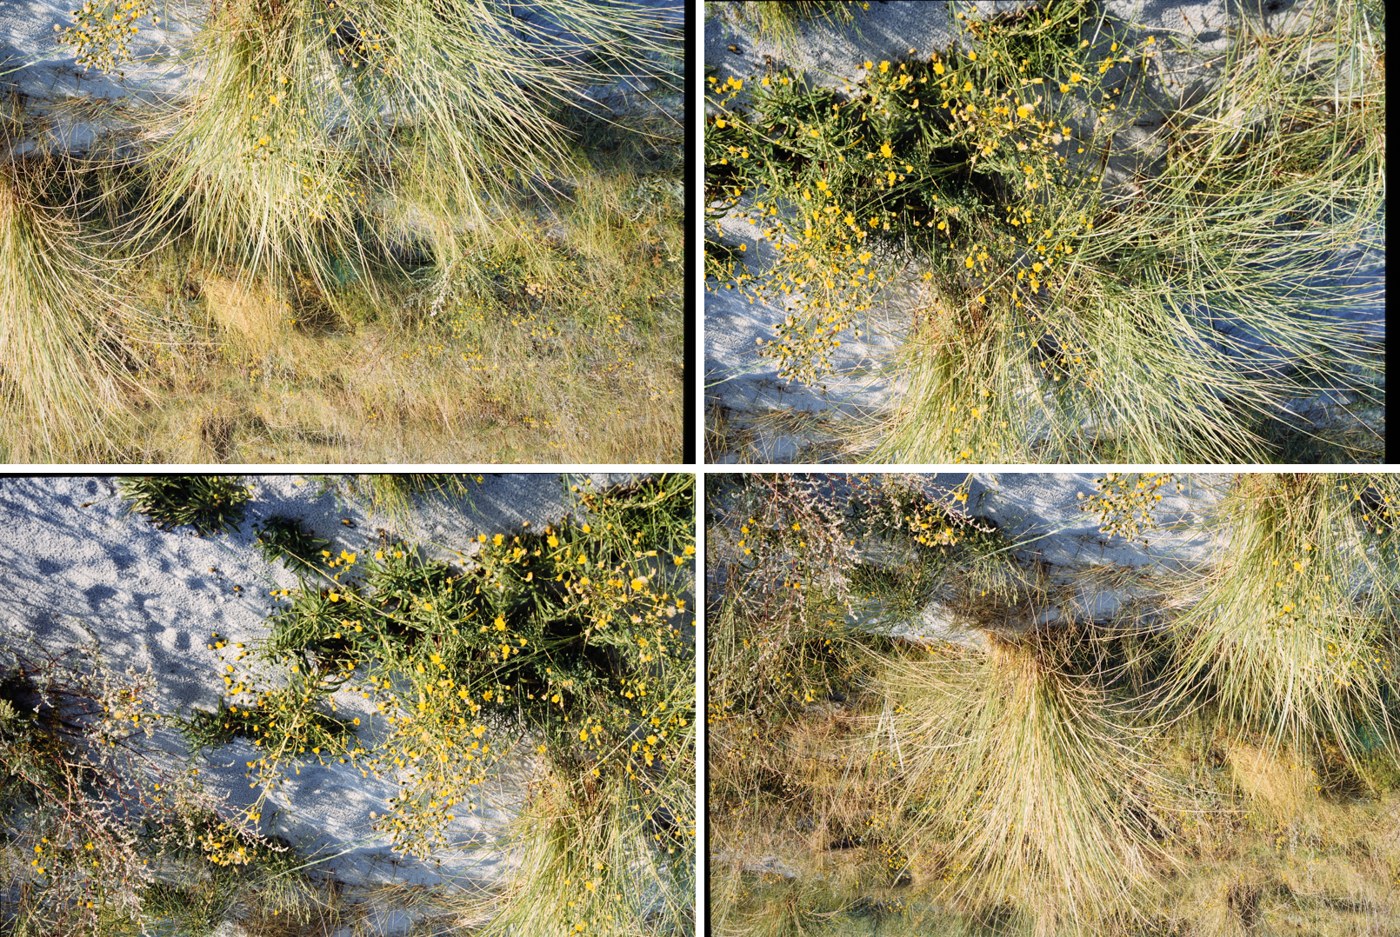
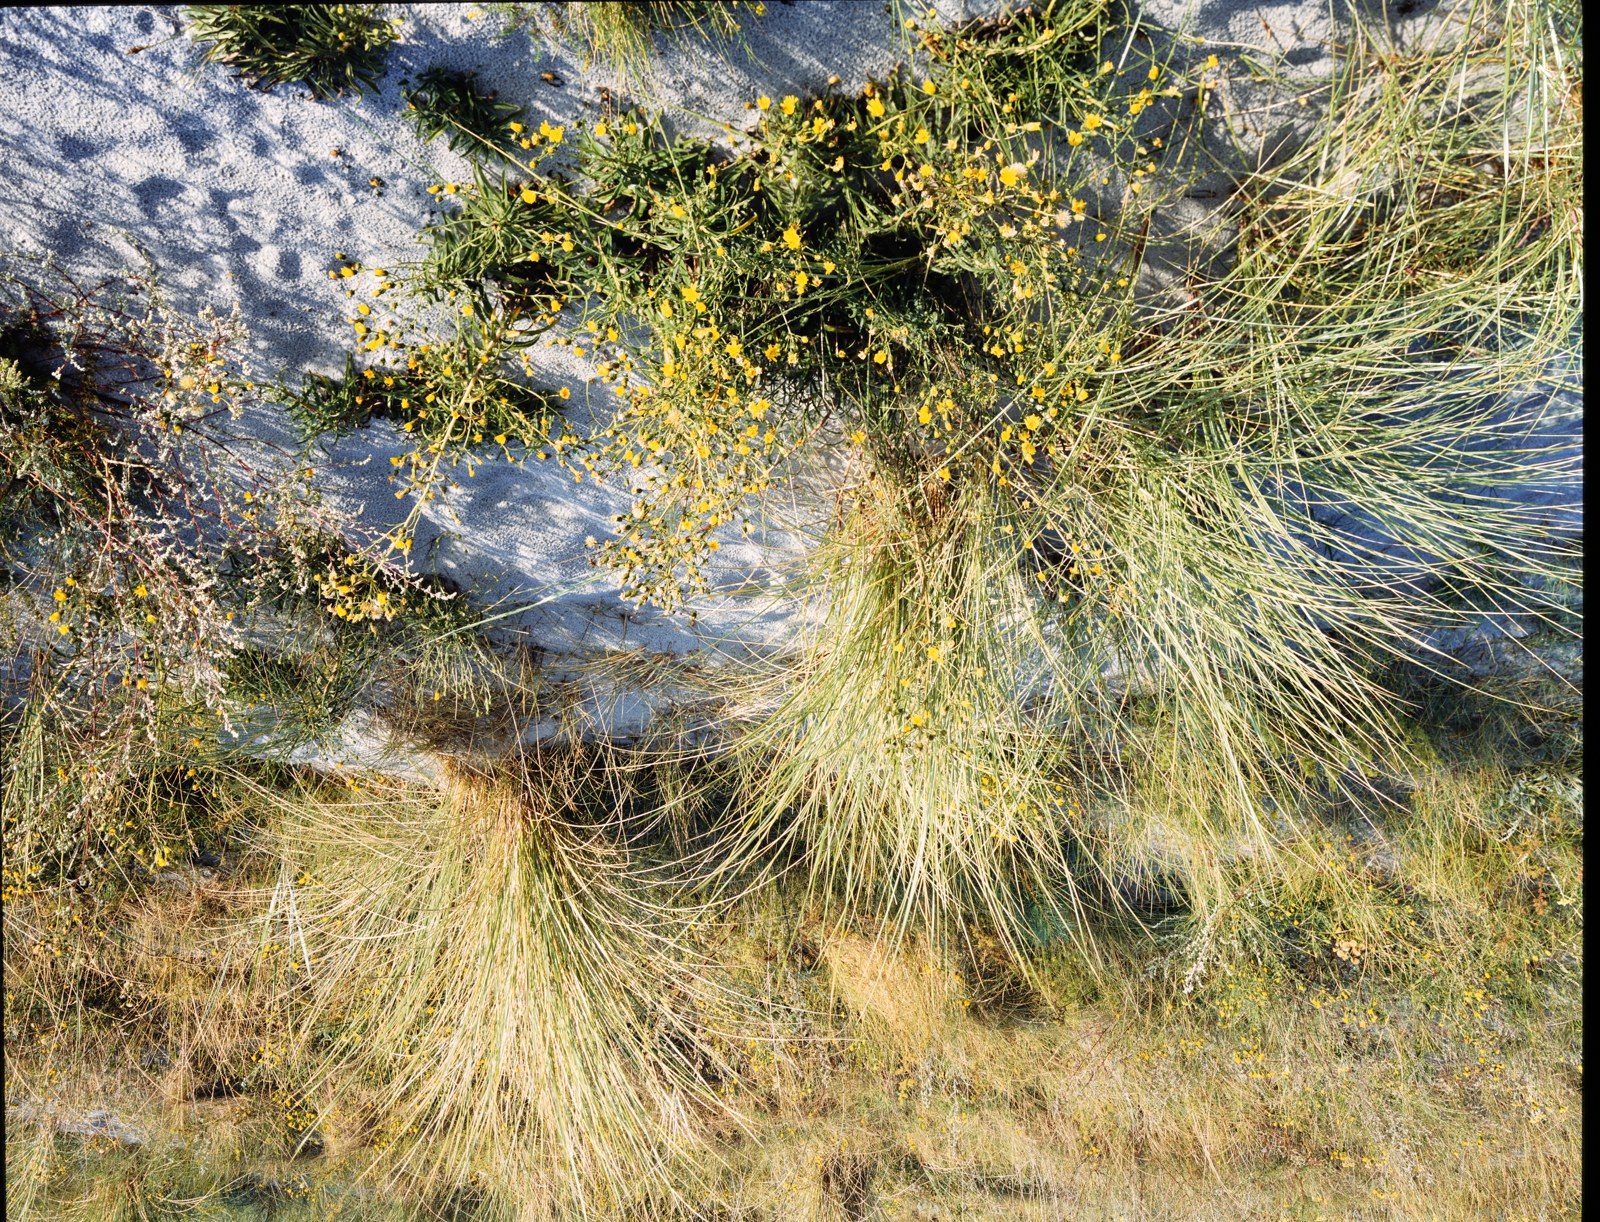
It finds the arrangement itself (phase correlation over all six pairs scores the 24 possible layouts), then aligns to a fraction of a pixel: coarse offsets, then a per-pair affine, then full-resolution Lucas–Kanade, then a bundle adjustment with a Huber loss solving a homography per tile. One tile, the anchor, is copied without any resampling, so a quarter of the output is bit-exact from the source. Exposure differences are evened out with per-tile gains and a radial flat-field, and the joins are hidden by dynamic-programming seams that are pyramid-blended on the GPU.
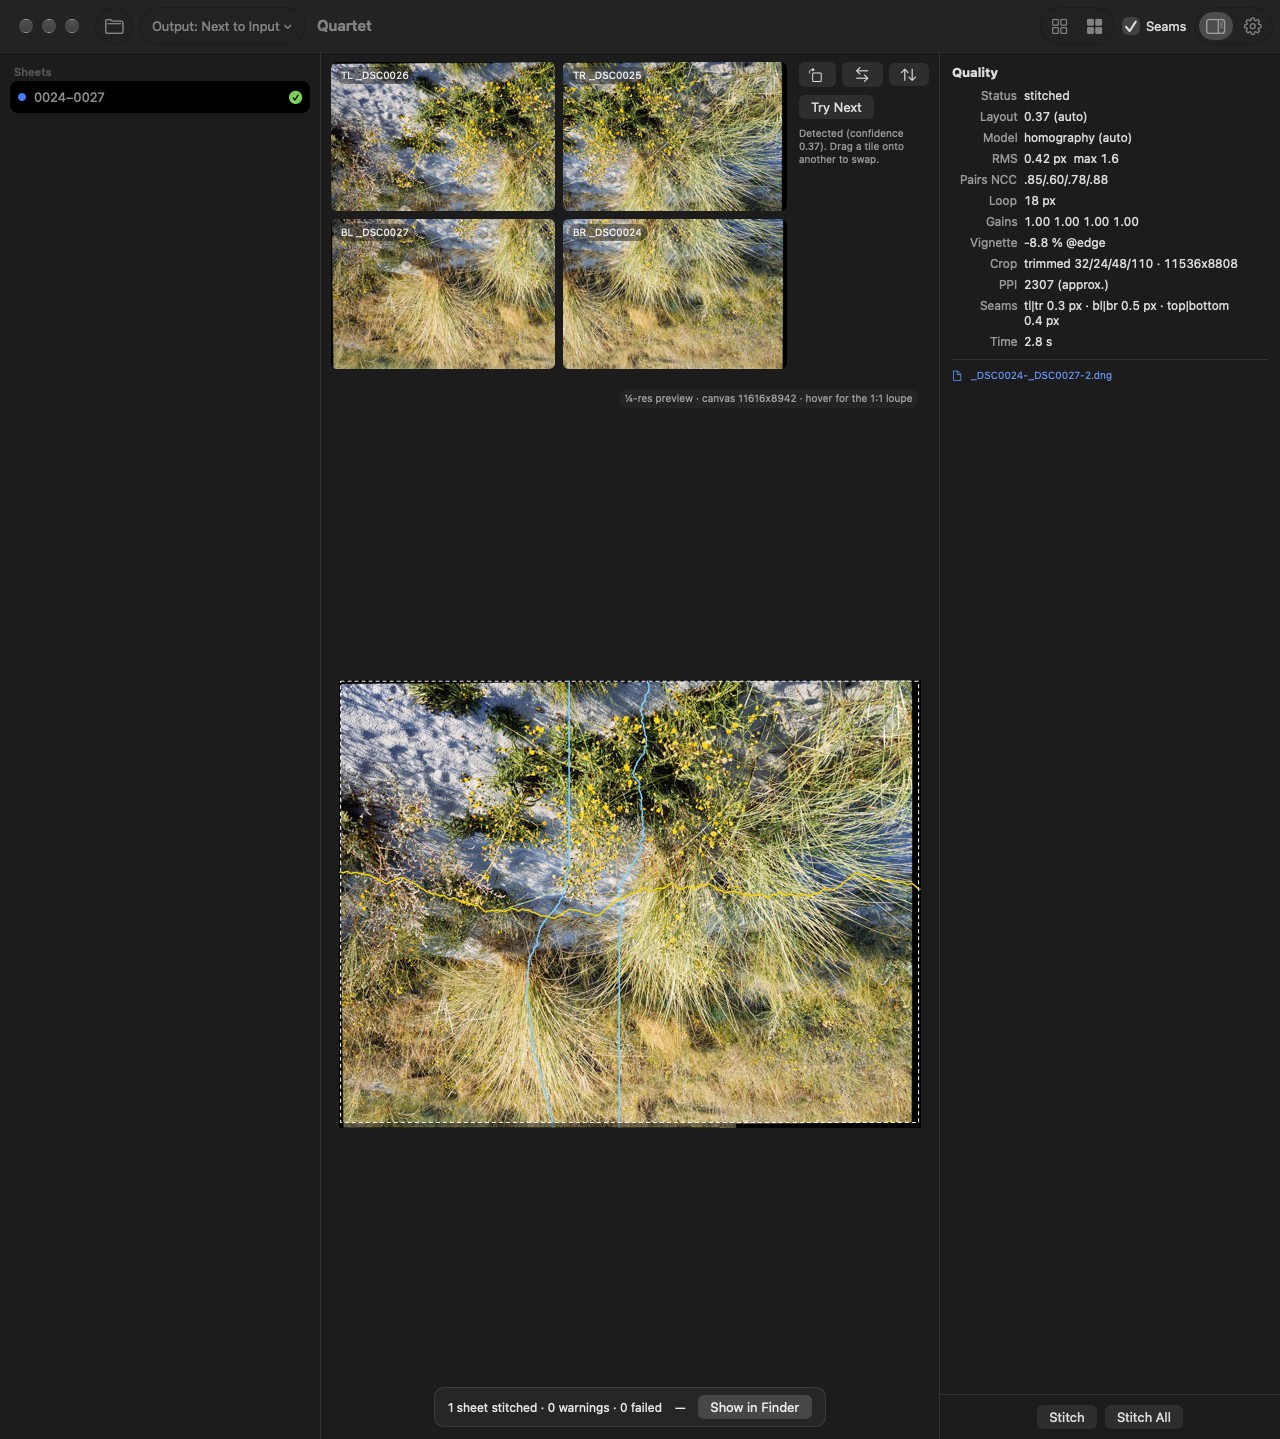
The part I like best is that it tells you when it isn't sure: every sheet gets a green, yellow or red badge, with the reasons in plain language.
The second example sheet I have grades red, honestly: the film wasn't flat in the holder. Quartet measures that and reports it, it doesn't try to fix it.
Straighten: Levelling
Straighten is the oldest of the six, it started in July as a tiny standalone app before the rest existed. You drag a line along something that should be horizontal, the image rotates to match, and it offers the largest rectangle of the original aspect ratio that fits inside the rotated content as a crop. That's pretty much it (plus 90° rotations, flips, a crop tool and a grid overlay).
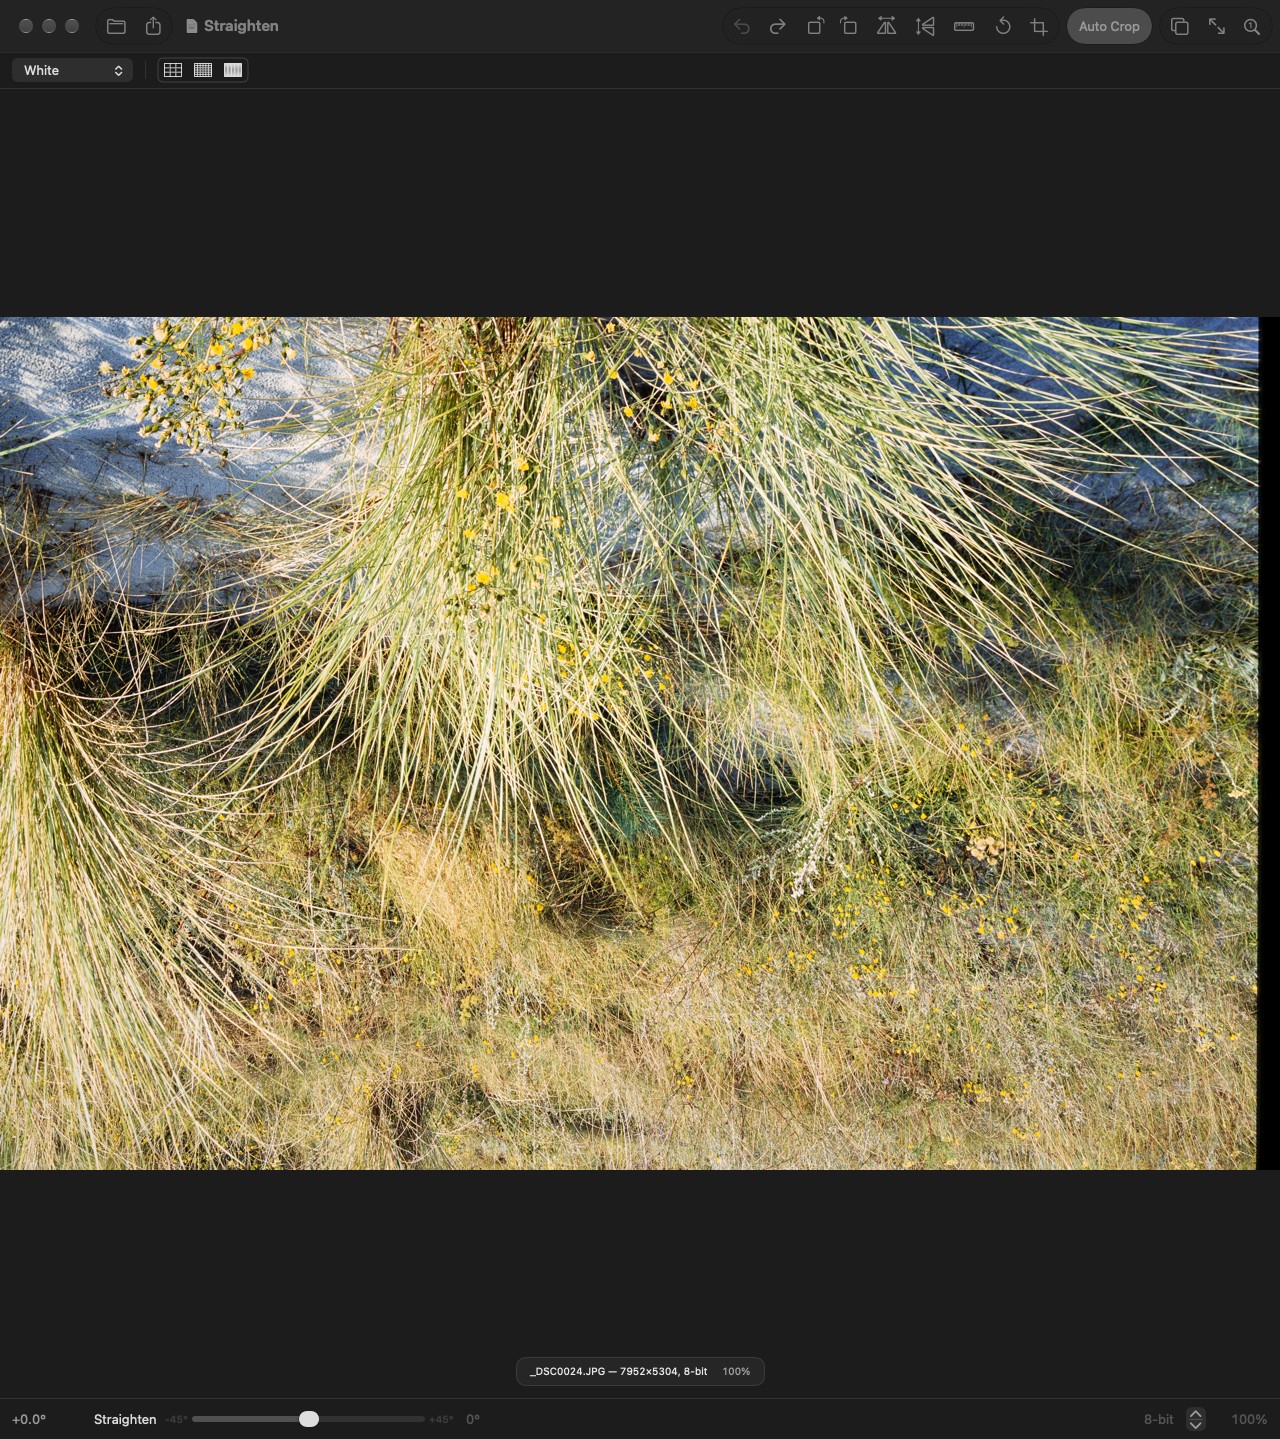
Most of the work in this one went into what you don't see: it renders at the source's bit depth, carries every tag and the ICC profile through byte for byte, and doesn't block the window while it decodes or converts a 125 MP image for display. The first version wrote a 991 MB TIFF for a 125 MP stitch (premultiplied RGBA, LZW without predictor, one row per strip, big-endian, no EXIF); the current one writes 647 MB with every tag carried.
Invert: From Negative to Positive
This is the one I was most curious about. A negative's density is proportional to the log of the exposure that made it, and a scan measures transmission, so the whole model is:
L = (v_base / v) ^ (1 / gamma)
where v_base is the film base (the unexposed film) and v the scanned value, per channel. Two nice things follow from this. The orange mask of color negative film is a constant density offset per channel, i.e. a constant factor in transmission, so dividing by a measured base removes it exactly, without per-stock profiles. And contrast is a power, not a curve: a color cast is three exponents, not a curve editor.
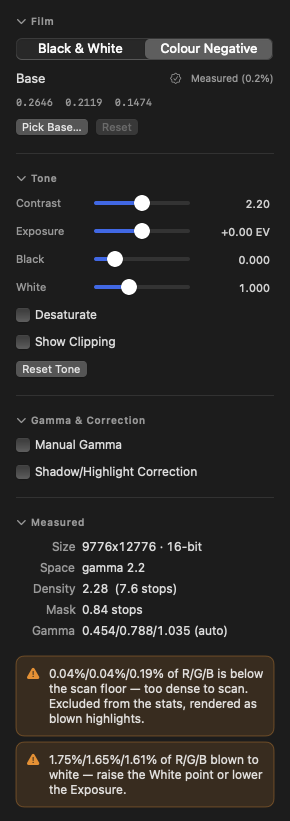
The film base is measured from the rebate (the unexposed edge of the film) when there is any in the frame, and estimated from the brightest tone otherwise, and Invert always says which one it did. Gamma is measured, not assumed: the textbook constants describe film, not a camera scan of film that has already been through the camera's tone curve (feeding in the "correct" 0.62 renders my reference scan nearly black).
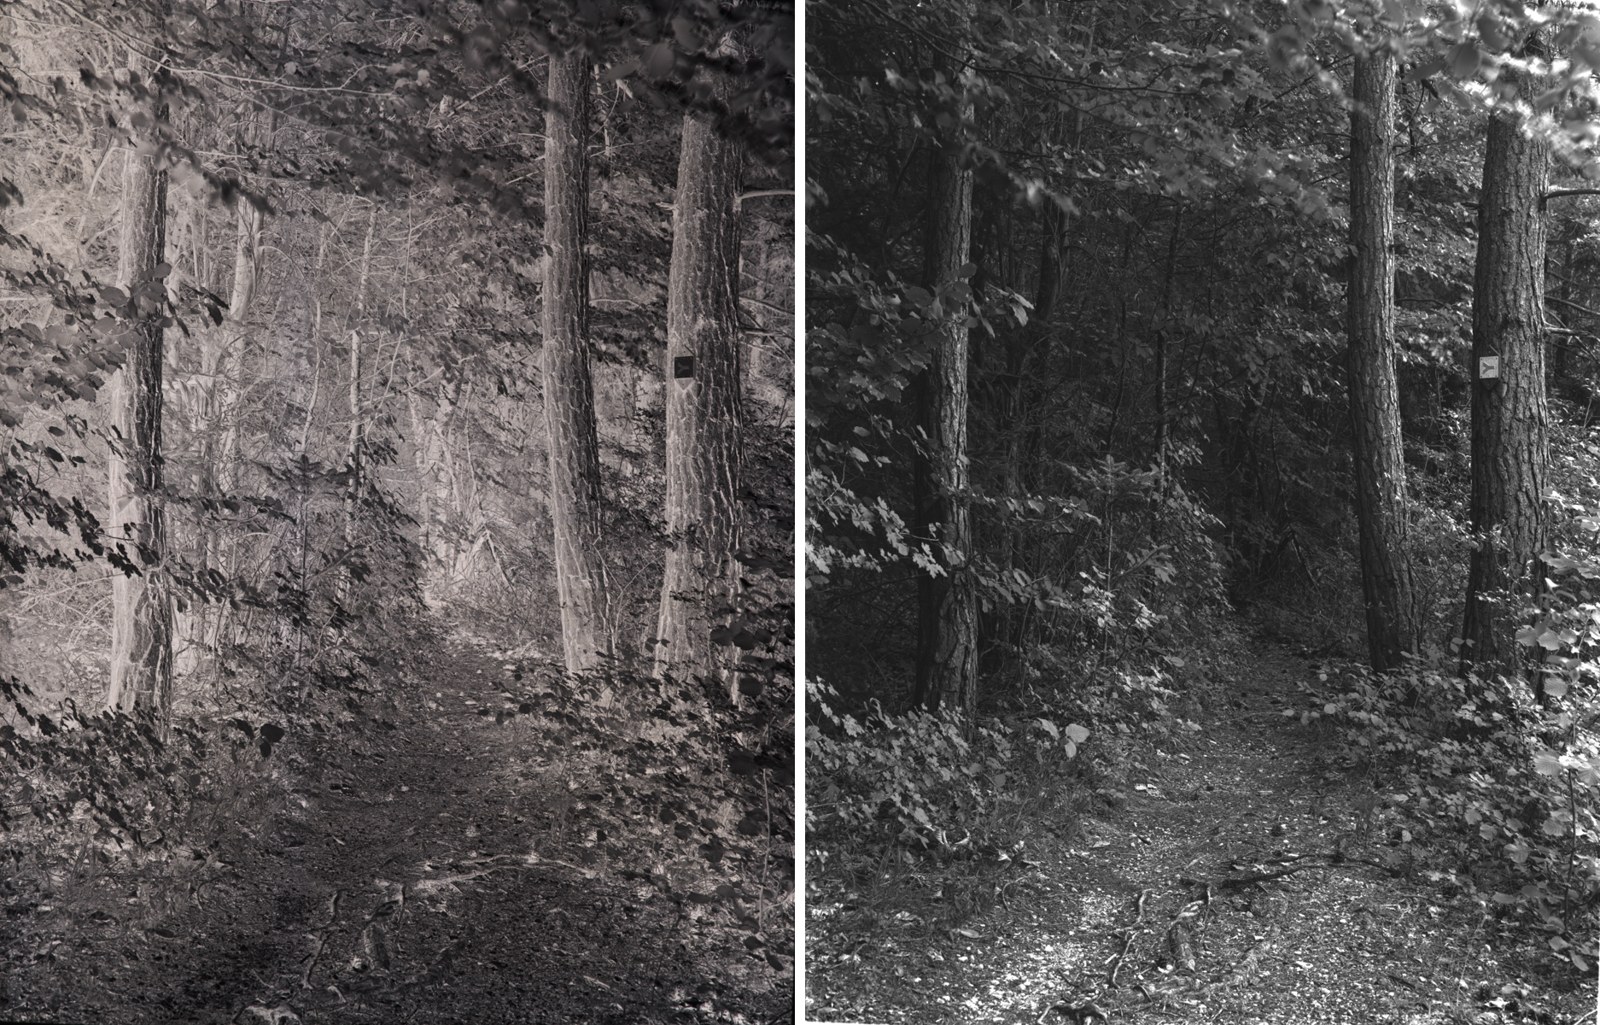
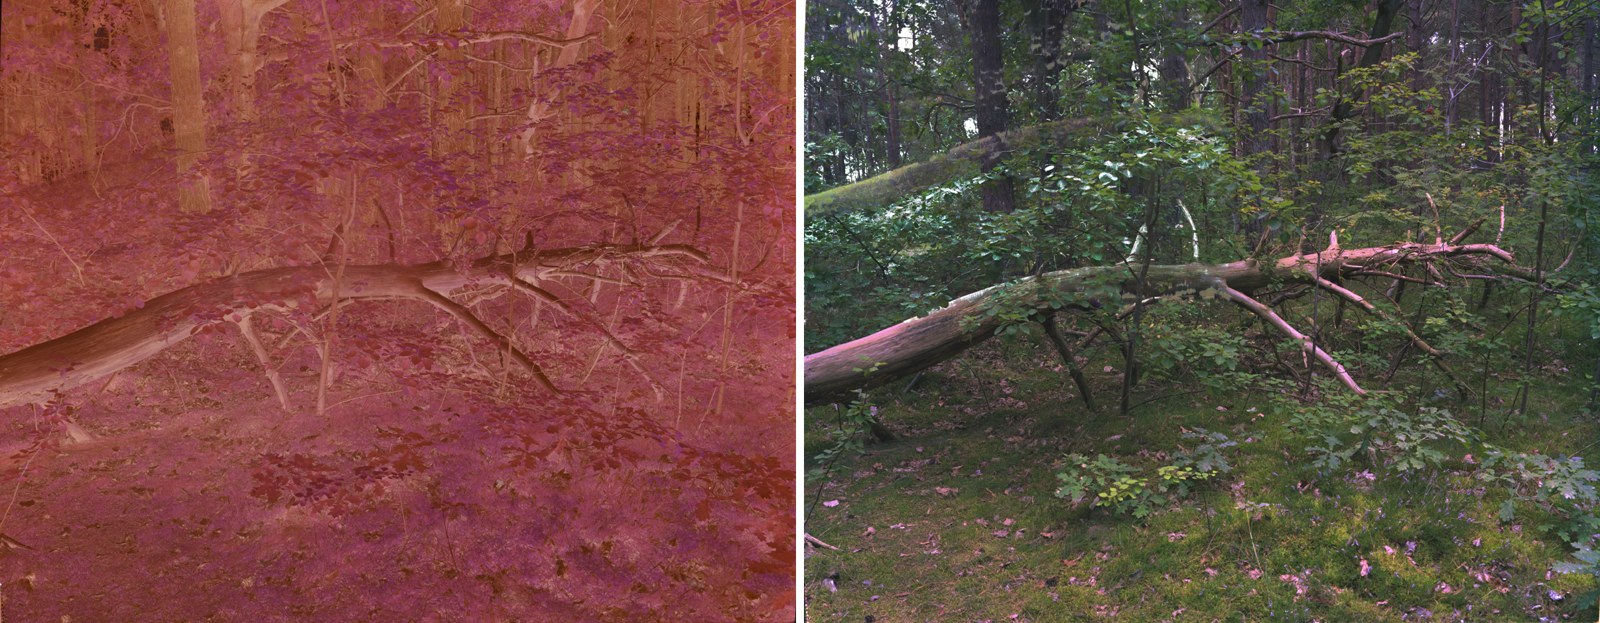
To be honest, color is the weak spot so far. Black and white works really well, but the color negatives come out of the automatic settings as a reasonable starting point rather than a finished picture: a slight green cast, and on my Portra 160 night shot a lot more than that. Picking the base by hand from a piece of rebate ("Pick base…") should help, since the automatic estimate assumes the brightest tone in the frame is a true black. Getting the color right is what Grade is for anyway, but I haven't really judged the color pipeline by eye yet.
Healing: Dust and Scratches
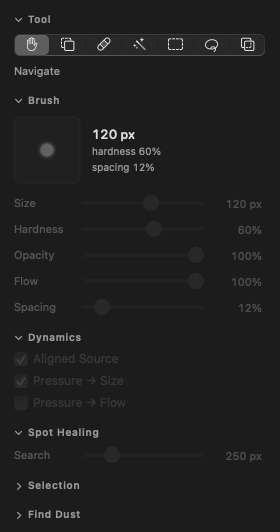
Healing has a clone stamp, a healing brush and spot healing, for 100+ MP files: a 102 MP 16-bit TIFF loads in about half a second, and a live stroke on the 125 MP stitch takes around 3 ms per batch of dabs in full 32-bit float.
The healing brush isn't a blur or a feathered clone. With d = dst - src it solves the Laplace equation ∇²f = 0 over the brush footprint, with f = d pinned outside, and then sets healed = src + f. That takes the texture from the source and the color and brightness from the destination, and since f → d at the edge, the blend is seamless by construction rather than by feathering. Spot healing adds a multi-scale PatchMatch to find the source by itself.
Editing is non-destructive: a document is the original image plus a list of edits, saved in a small JSON file next to the image, so the scan itself is never written.
Sharpen: Seven Algorithms on the GPU
Sharpen has seven algorithms (unsharp mask, "smart" sharpen with halo suppression, high pass, AMD's contrast-adaptive sharpening, Richardson–Lucy deconvolution, a Laplacian, and local contrast), all as Metal compute kernels. Each algorithm is just data: it publishes a list of its parameters, and the inspector builds its UI from that, so adding an eighth is one new file.
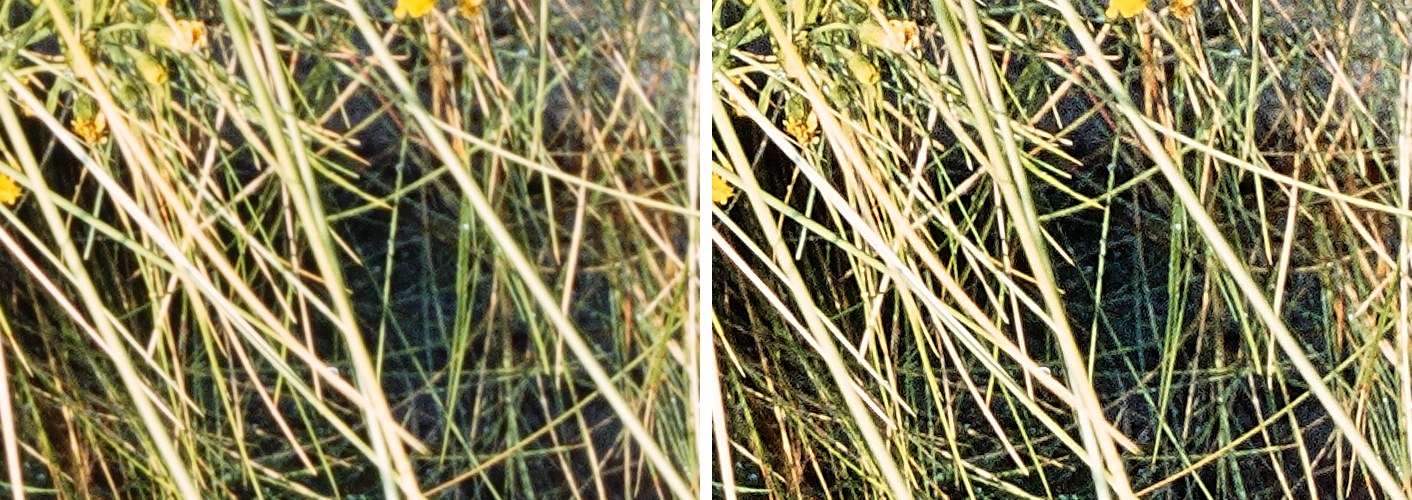
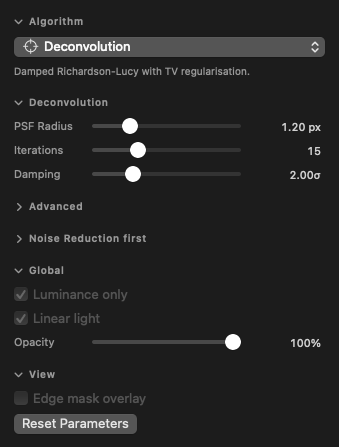
One lesson from this one: an early version rendered the preview at a lower quality while you dragged a slider and never followed up with a full-quality pass, so the "sharpened" 42 MP preview carried 18–27 % of the unsharpened original's acutance, i.e. it looked blurrier than doing nothing. Now a full-quality pass follows 220 ms after the last change, and export never downscales.
Grade: Color
The last step: white balance, exposure, gamma, contrast, curves, saturation and vibrance, and an output transform with highlight rolloff and gamut compression. Every one of these operations is pointwise (it only depends on the pixel at the same position), so the whole chain is one fused fragment shader whose cost is memory bandwidth. And interactive rendering only ever touches the pixels that are on screen: a 5K display is ~15 MP no matter how big the file is, so editing a 130 MP scan costs the same as a 24 MP one. A 130 MP 16-bit TIFF shows its first pixels ~160 ms after opening and is fully loaded after about half a second, and a frame renders in around a millisecond.
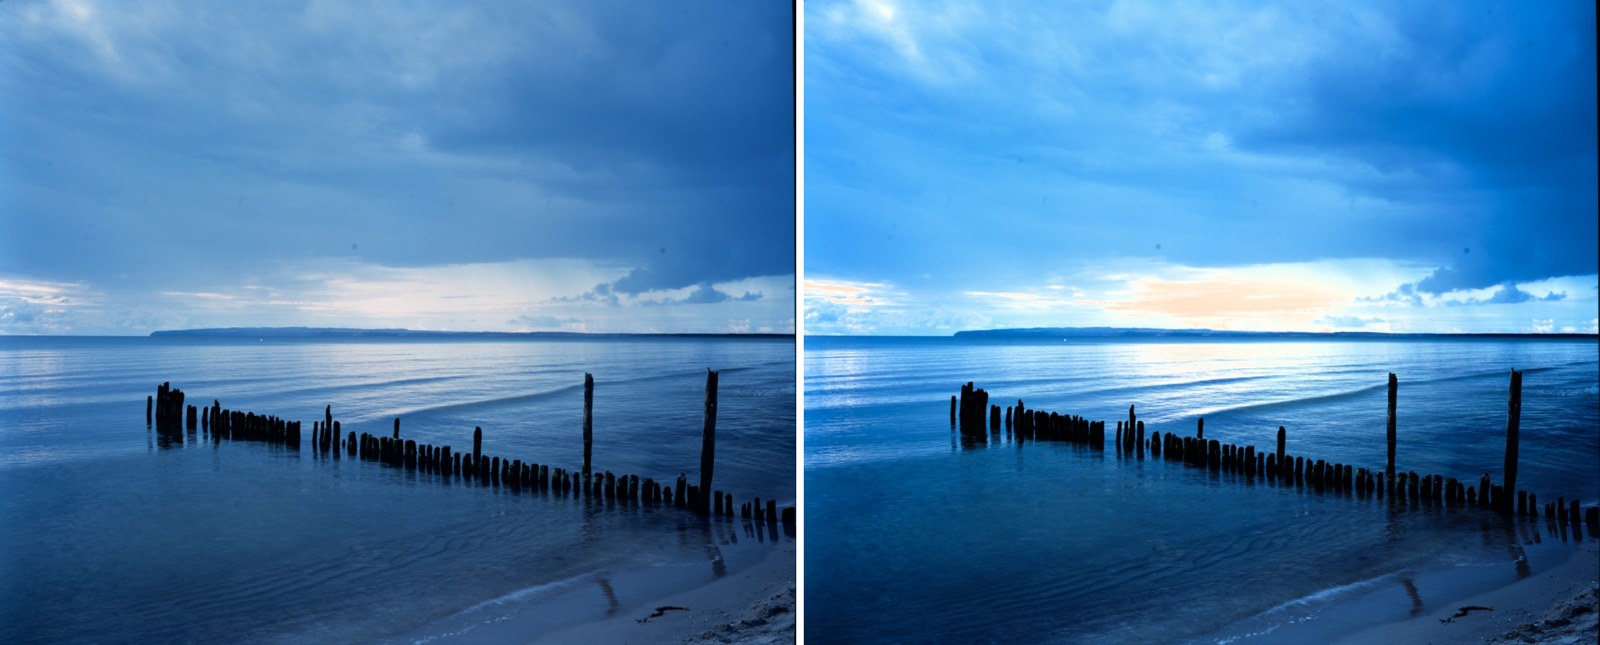
Grade works in scene-linear Rec.2020, and tone controls operate in a log encoding whose center is exactly mid gray, so a symmetric curve gesture pivots there. It is also the only app in the suite that is allowed to convert color: its export is rendered into the target space you pick (Display P3, sRGB, Adobe RGB, ProPhoto) and tagged with that profile.
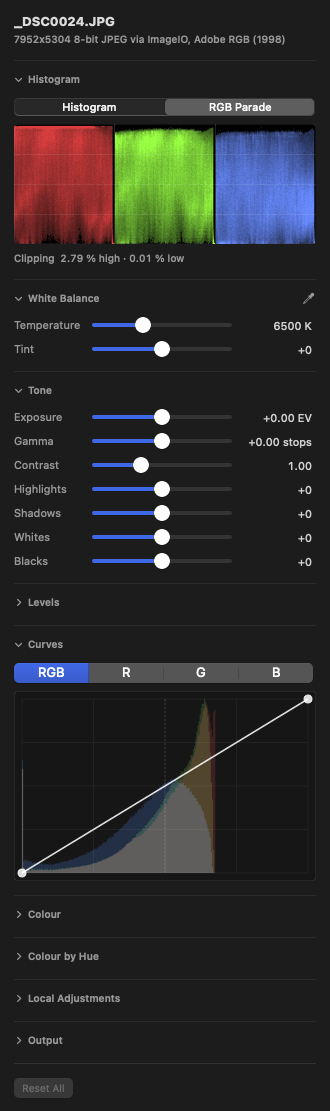
The histogram can be switched to an RGB parade: three waveforms, one per channel, that show the picture from left to right with its values from black at the bottom to white at the top, so you can see where in the frame a cast or a clipped highlight sits, not just that there is one. It's counted in the same GPU pass as the histogram, from the same samples, so it costs next to nothing.
SuiteKit: The Glue
What makes six apps a suite rather than six apps is a shared library, SuiteKit, and a written contract for the files they hand each other. The "suite TIFF" is 16-bit, Deflate with predictor, strips of 64 rows, orientation baked into the pixels, the source's ICC profile copied verbatim (an untagged source stays untagged), and a fixed set of EXIF fields carried forward. For the linear hand-off there is a "suite DNG": 16-bit linear samples in the source's primaries, with a marker saying whether the data is scene- or display-referred.
The rule every app follows: if the input was the contract, the export defaults to the contract, and no app converts color on the way (except Grade). A small checker, suitecheck, verifies a file against the contract, and chain.sh runs all six apps end to end and checks every hop:
$ suitecheck --contract auto _DSC0024-_DSC0027.tif
$ suitecheck --against previous-hop.tif this-hop.tif
$ SuiteKit/scripts/chain.sh
Before SuiteKit each app had its own TIFF reader and writer (or used ImageIO's), and it showed: Invert's export took 10 s because ImageIO's TIFF writer has no predictor (now 1.7 s), Healing took 19.5 s to load a stitch through Core Image (now under half a second through a shared, parallel strip reader), and Grade had a warm color cast on every single export, from a spurious chromatic adaptation on Adobe RGB profiles.
How It Was Built
Almost all of the code was written by Claude Code (Opus, Sonnet and Fable models, going by the commit trailers), with me directing, testing, and supplying real scans. That's about 1,200 commits across seven repositories in about three weeks (Straighten aside), and over 1,900 tests, many of which run on real 100+ MP files. Each app started with a design document, and for some of them (Sharpen and Grade in particular) with "recon": a set of small programs to measure how Apple's frameworks actually behave before writing any app code. Grade's list of verified constraints has 194 entries, and in 45 places the original design turned out to be wrong.
After the first versions I had the agents audit the suite, seven times so far, and fix what they found (67 defects in one audit, 125 in another). Every finding and its fix went into a commit message, with a measurement proving it. A few things I learned along the way:
- A passing check tells you only what it checks. At one point there were 23 green contract checks across three full chain runs, and still three real defects inside them: a DPI silently replaced by 72, a scene-referred image restamped as display-referred, and the warm cast on every Grade export. The contract checks containers and tags, none of those could trigger it.
- Look at the pixels. What found the color cast was a 256-pixel gray ramp, one render, and three lines of arithmetic: neutral in, neutral out.
- "The app drew" and "the user saw" are different claims. Healing's canvas didn't reach the screen for an unknown amount of time, while every measurement said it was fine: frames drawn, filename in the status bar. The tool the agents used to take screenshots (
cacheDisplay) simply can't see Metal content. That's also why for four of the apps above you only see the inspector panels: their canvases are Metal, and screen recording isn't permitted in the environment the agents run in. - Apple's frameworks have surprises. The newest RAW decoder renders negative red for my Sony ARW files in a wide-gamut working space; writing floats into a half-float Metal texture rounds toward zero on my Mac instead of to nearest (half an ulp of bias per stage); Core Image develops a RAW differently depending on which region you ask it to render, so bands rendered edge to edge have seams; and ImageIO has two JPEG decode paths that differ by one level in ~40 % of samples.
Conclusion
I'm really happy with how this turned out. The stitching in particular works better than I expected, it's fast, and I trust it because it tells me when not to. The chain runs end to end on real sheets, and the whole thing is small enough that I can understand every step, which was the point.
There's still quite some work left: color negatives need a proper look (and probably a better base pick), the white balance for RAW files should re-decode rather than just trim, nothing has been tested on a Retina 2x display yet, and Healing's brushes have mostly been exercised by its self-test rather than by hand.